Published 2018-12-30
abstract views: 124 // FULL TEXT ARTICLE (PDF): 167
Keywords
- optical scanning,
- accuracy,
- dental
How to Cite
Copyright (c) 2023 Journal of Production Engineering

This work is licensed under a Creative Commons Attribution 4.0 International License.
Abstract
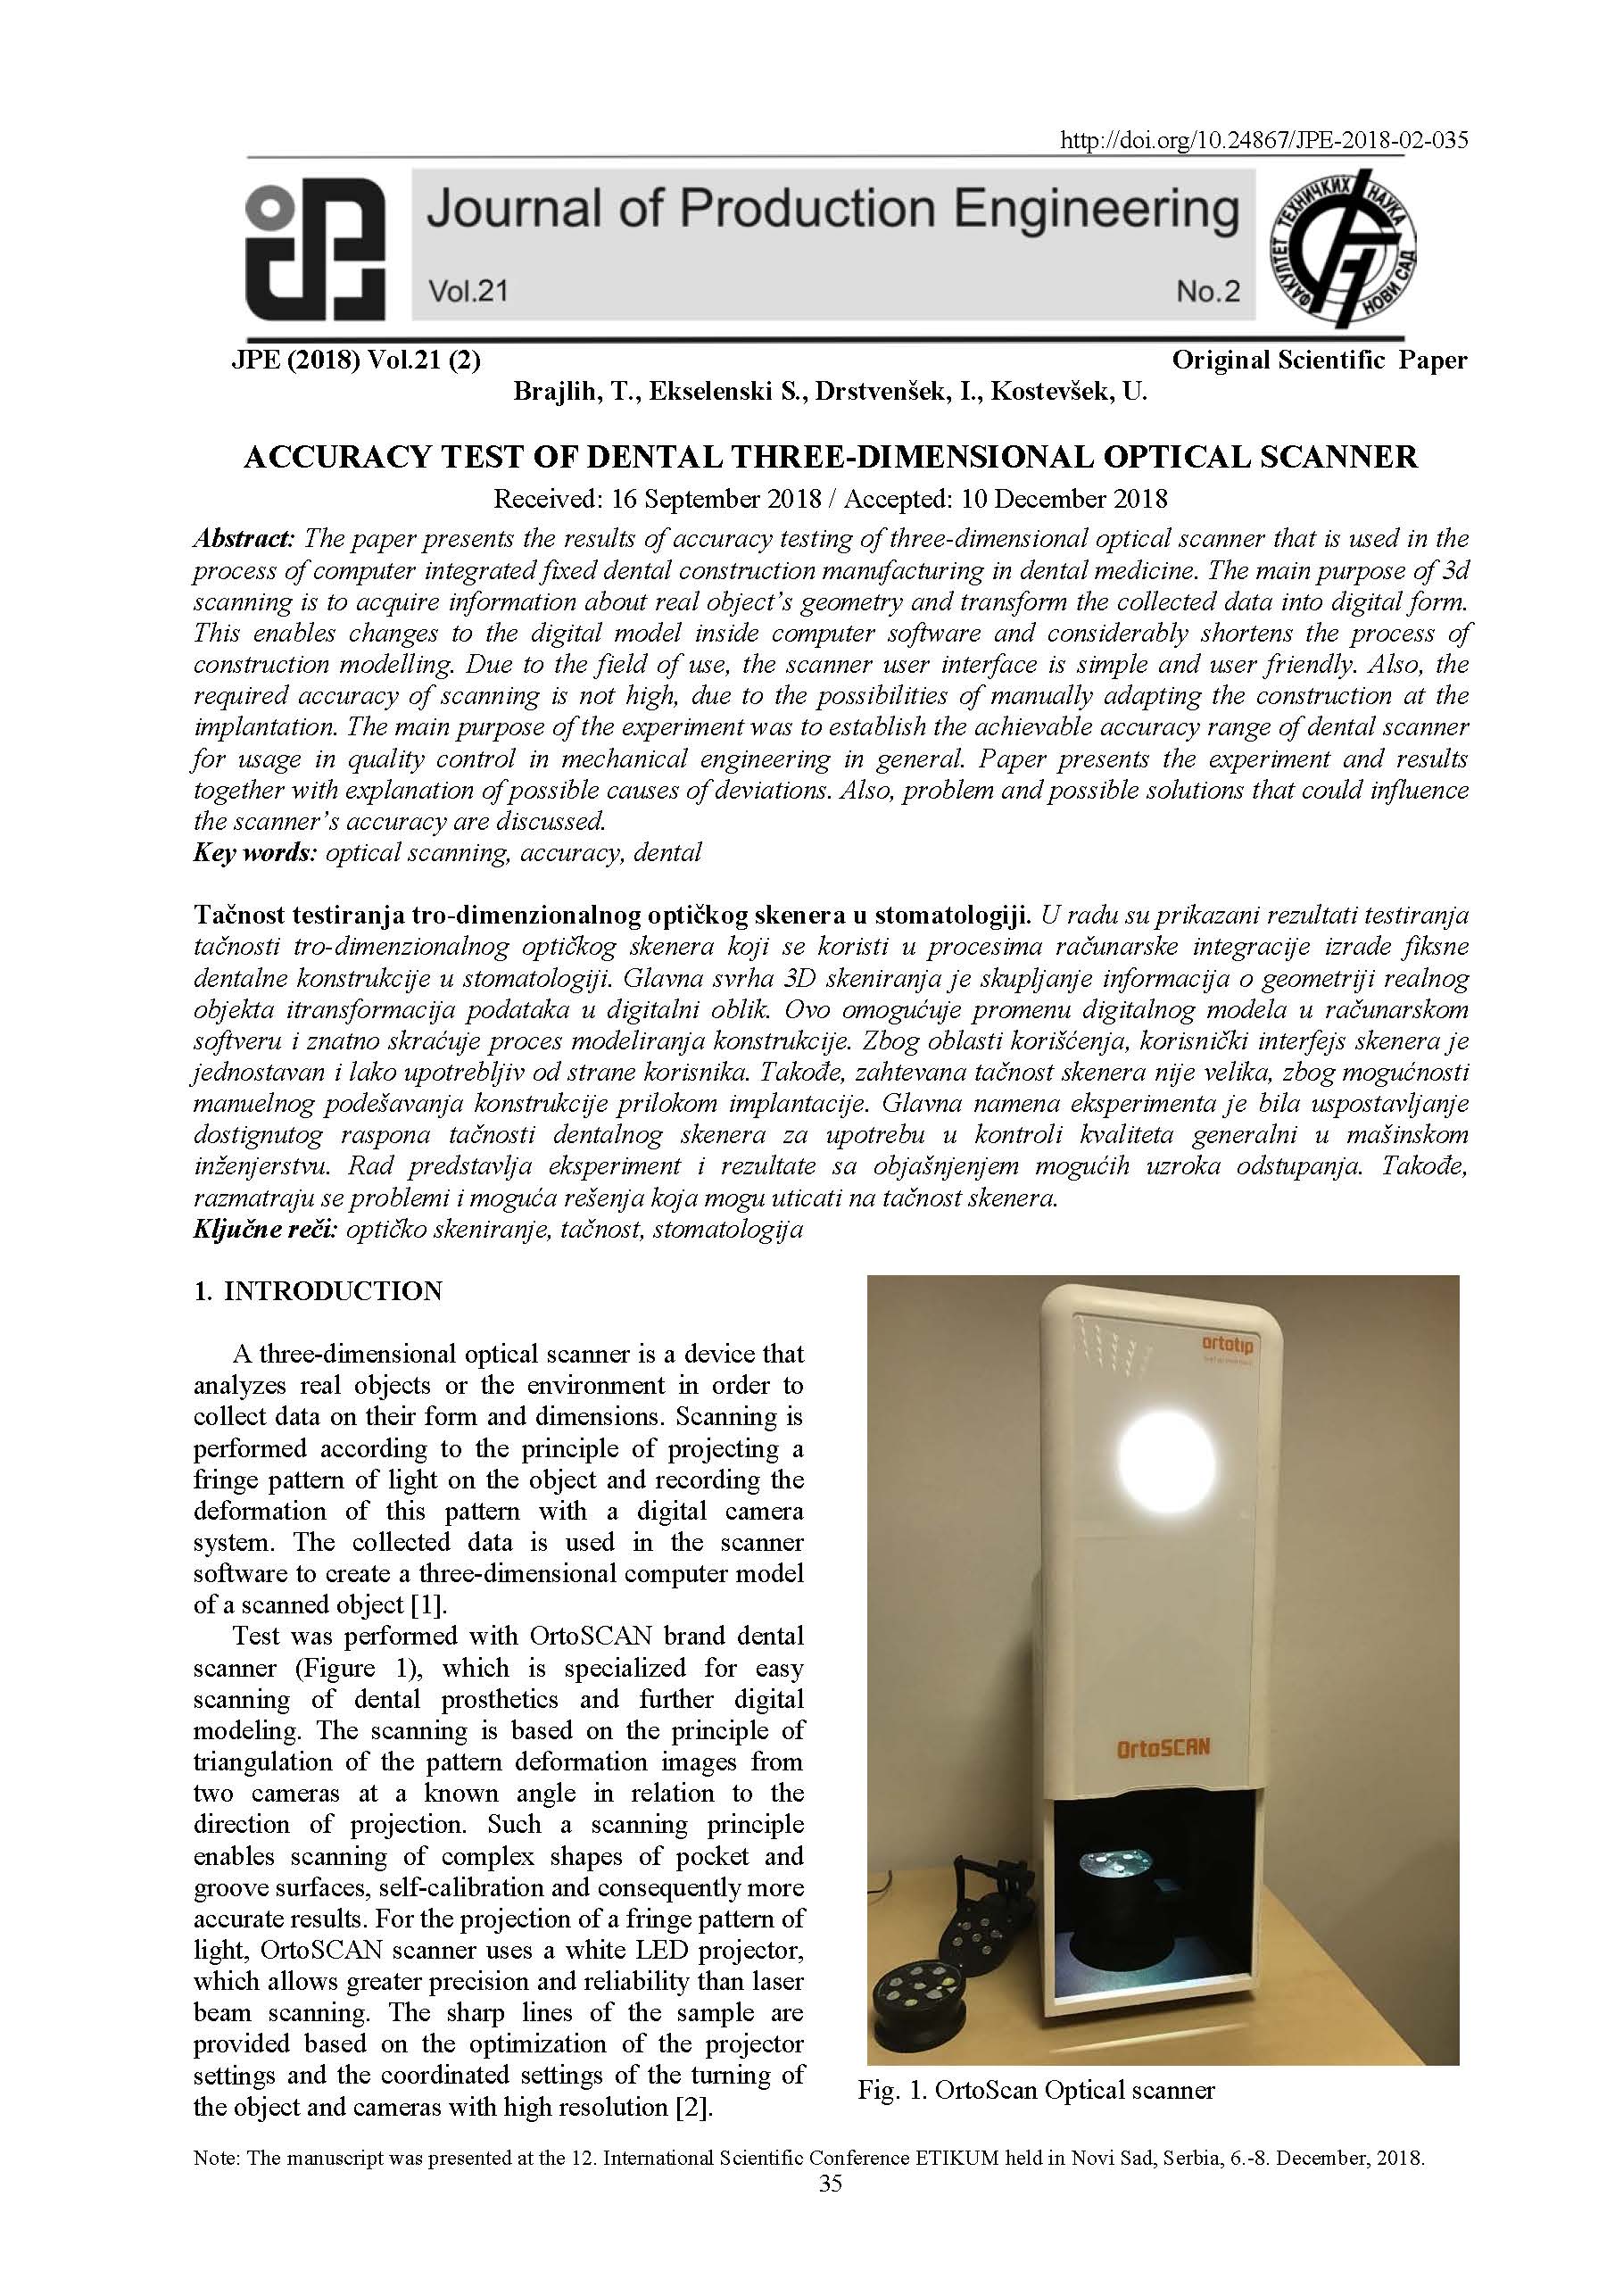
The paper presents the results of accuracy testing of three-dimensional optical scanner that is used in the process of computer integrated fixed dental construction manufacturing in dental medicine. The main purpose of 3d scanning is to acquire information about real object’s geometry and transform the collected data into digital form. This enables changes to the digital model inside computer software and considerably shortens the process of construction modelling. Due to the field of use, the scanner user interface is simple and user friendly. Also, the required accuracy of scanning is not high, due to the possibilities of manually adapting the construction at the implantation. The main purpose of the experiment was to establish the achievable accuracy range of dental scanner for usage in quality control in mechanical engineering in general. Paper presents the experiment and results together with explanation of possible causes of deviations. Also, problem and possible solutions that could influence the scanner’s accuracy are discussed.

